- Improve Your Volleyball with Coach April
- High School Varsity Volleyball
- The Volleyball Middle Blocker
 Dear Volleyball Mom,
Do You Know What Sets My Private Volleyball Training Apart From Anyone In Vegas?
I invite You to read what my private volleyball training mission says before considering hiring me as a private volleyball coach because I'm not available for everyone.
Dear Volleyball Mom,
Do You Know What Sets My Private Volleyball Training Apart From Anyone In Vegas?
I invite You to read what my private volleyball training mission says before considering hiring me as a private volleyball coach because I'm not available for everyone.Volleyball Middle Blocker Footwork and Timing Help Make A Good Block
There are three types of footwork patterns in volleyball middle blockers should know including the hop step, shuffle step and the swing block footwork.
There are three different types of volleyball middle blocker footwork patterns used in the front row.
- Hop Step
- Shuffle step
- Swing Step
From easiest to hardest...
Volleyball Middle Blocker Footwork and Timing Help Make A Good Block
The Hop Step
The hop step footwork is the quickest step to use and covers the shortest amount of distance along the net.
This is basically a short sideways jump done with one foot at a time. Often used by the middles so they can cover short distances quickly.
In our weekly Boot Camp classes we work on our blocker footwork in each practice, reviewing hop step, shuffle step, swing steps and transition steps.
Volleyball Middle Blocker Footwork and Timing Help Make A Good Block
The Shuffle Step
The shuffle step blocking footwork is the step work I prefer to use the most for middle blockers and outside hitters working to improve defensive skills in volleyball.
My players learn to shuffle step quickly by picking up the outside foot of the direction they are moving towards.
So if they need to move to the right, they learn to pick up their right foot first and then if they need to move to their left then they pick up their left foot first.
In my opinion the shuffle step, when practiced often can be as quick as the hop and is safer because it keeps you lower to the ground. (You are less likely to hop onto someone else's foot.)
Volleyball Middle Blocker Footwork and Timing Help Make A Good Block
Its also the step I have backcourt players use the most while digging in volleyball.
I want front court and back court players to move the same way, see the same thing and react in a uniform way.
Volleyball Middle Blocker Footwork and Timing Help Make A Good Block
Block Jump Timing
The Swing Block
The swing step blocking footwork is what I teach our more advanced players and I teach what the USA Volleyball High Performance program teaches in that your first step is the cross over step...with no prep step..
Volleyball Middle Blocker Footwork and Timing Help Make A Good Block:
The swing block is designed to give the blocker more elevation and helps you get your hands and arms further over the net while blocking a fast attack.
When taking your cross over step your body is
- turned perpendicular to the net with both arms swung back until you
- swing both arms forward as you bring your back foot around parallel to the crossover foot.
Volleyball Middle Blocker Footwork and Timing Help Make A Good Block
Timing this type of block is very important.
Volleyball Middle Blocker Footwork and Timing Help Make A Good Block.
The Swing Block Step
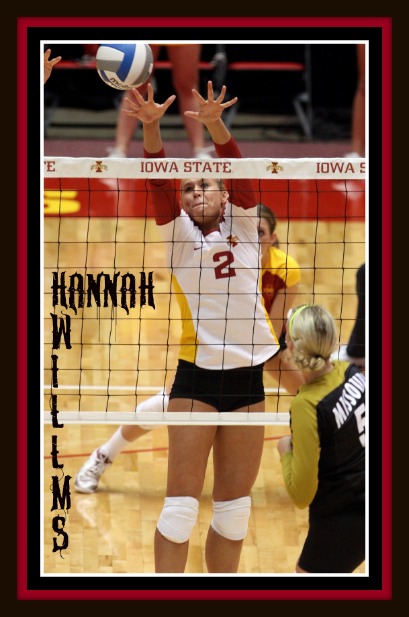
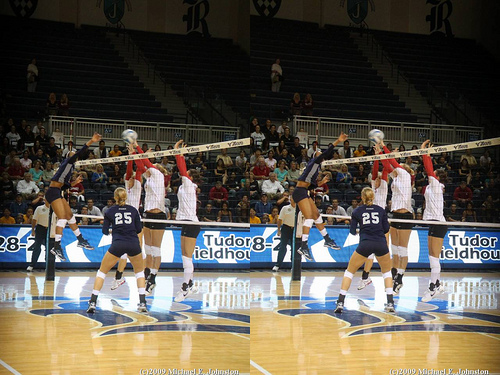
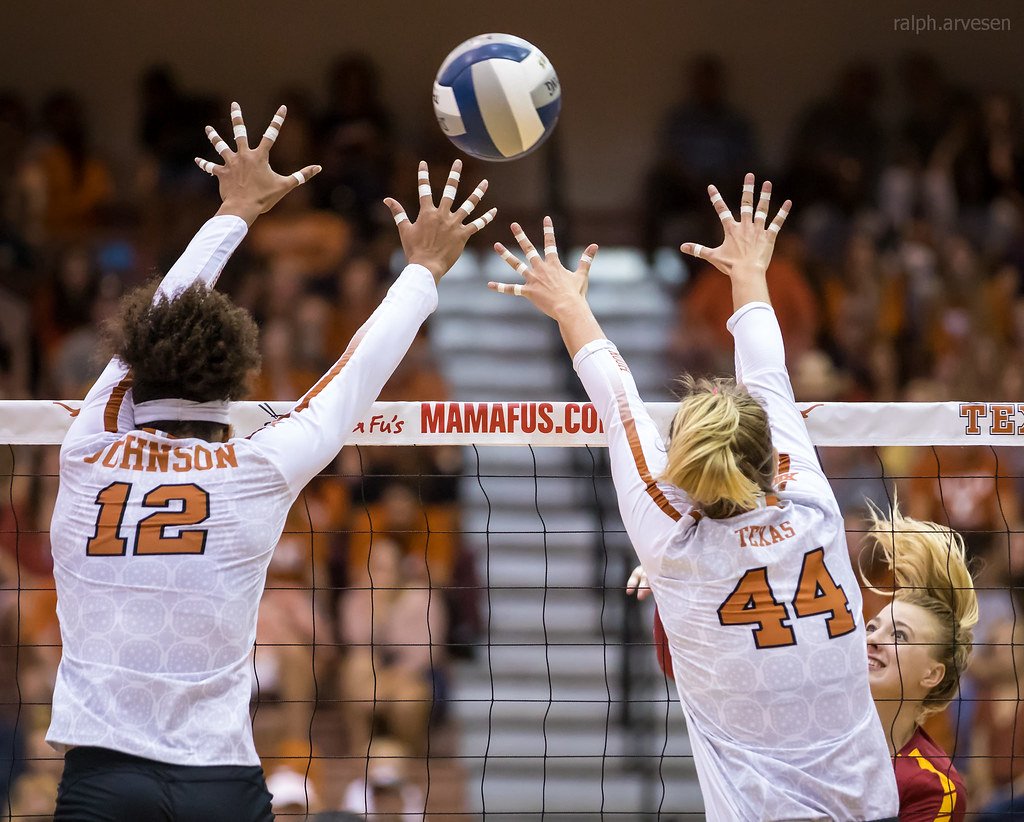
Speaking of timing, during your block, you want to wait until, just before the opposing player spikes the ball, then you jump.
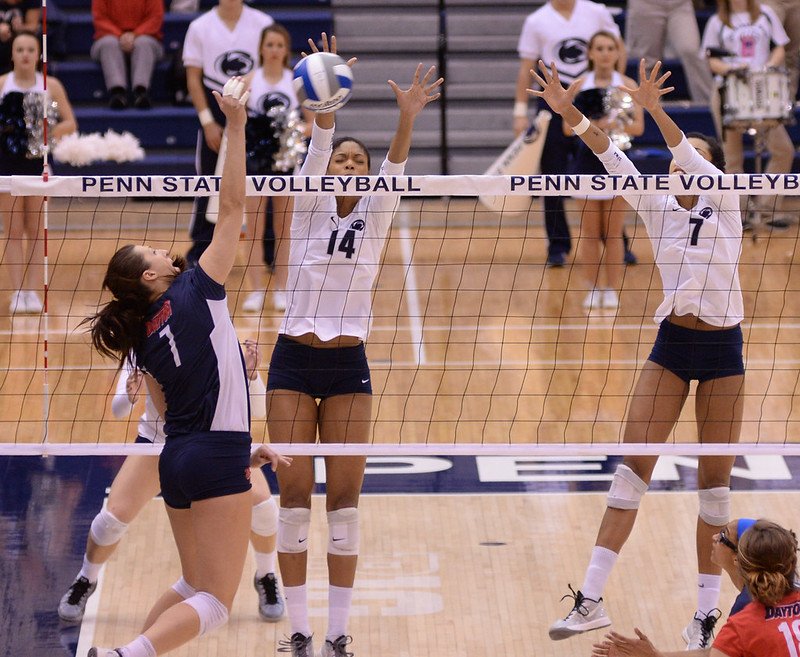
As you jump, you want to extend your hands, arms and shoulders over the net or if you can’t reach over, then as high as possible in order to grab the ball.
If you haven’t been instructed by your coach to take an area of the court away with your volleyball block, then your goal is to literally try to stop the ball before it passes over the net.
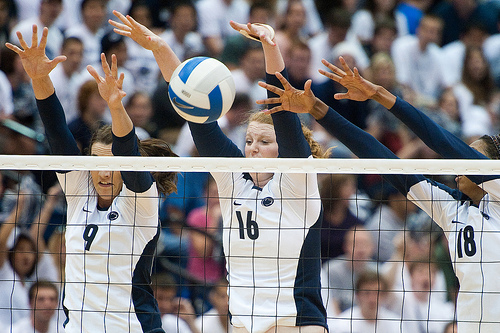
Keep your hands spread and your fingers wide apart in order to cover as much area above the net away from the hitter.
This is how you "block" the ball.
Once you block the ball, your widespread fingers and straight arms which are backed by your solid rigid wrists should just deflect the ball back into the middle of your opponents court.
Let me repeat. Imagine that you are making a wall with your hands and arms that you will use to redirect the ball back into the middle of your opponent’s court.
That’s the best way to think about how you should be blocking a ball.
Do You Follow Me on Instagram?
Follow me on Instagram @coach_apchap to improve your game even faster!
I share alot of individual, partner and easy-to-do volleyball serving drills we do in class with my followers.
Many of these volleyball practice drills you can do at home by yourself or try at your next practice with your teammates.
If you're a B team or JV player trying to make varsity next year...your goal should be to complete 1000 reps a day of at least three of the basic skills on your own...volleyball passing, serving and setting should be at the top of the list.
Volleyball Positions:
Where Do You Go From Here?
We know where you need to go now! Here are three options:
- Learn more about Blocking by clicking one of the links in the Related Links below.
- Follow the suggested reading on our Sitemap page Learning How To Play (Sitemap)
- Or visit the pages in the Positions section in the drop down menu at the top of the page to get started.
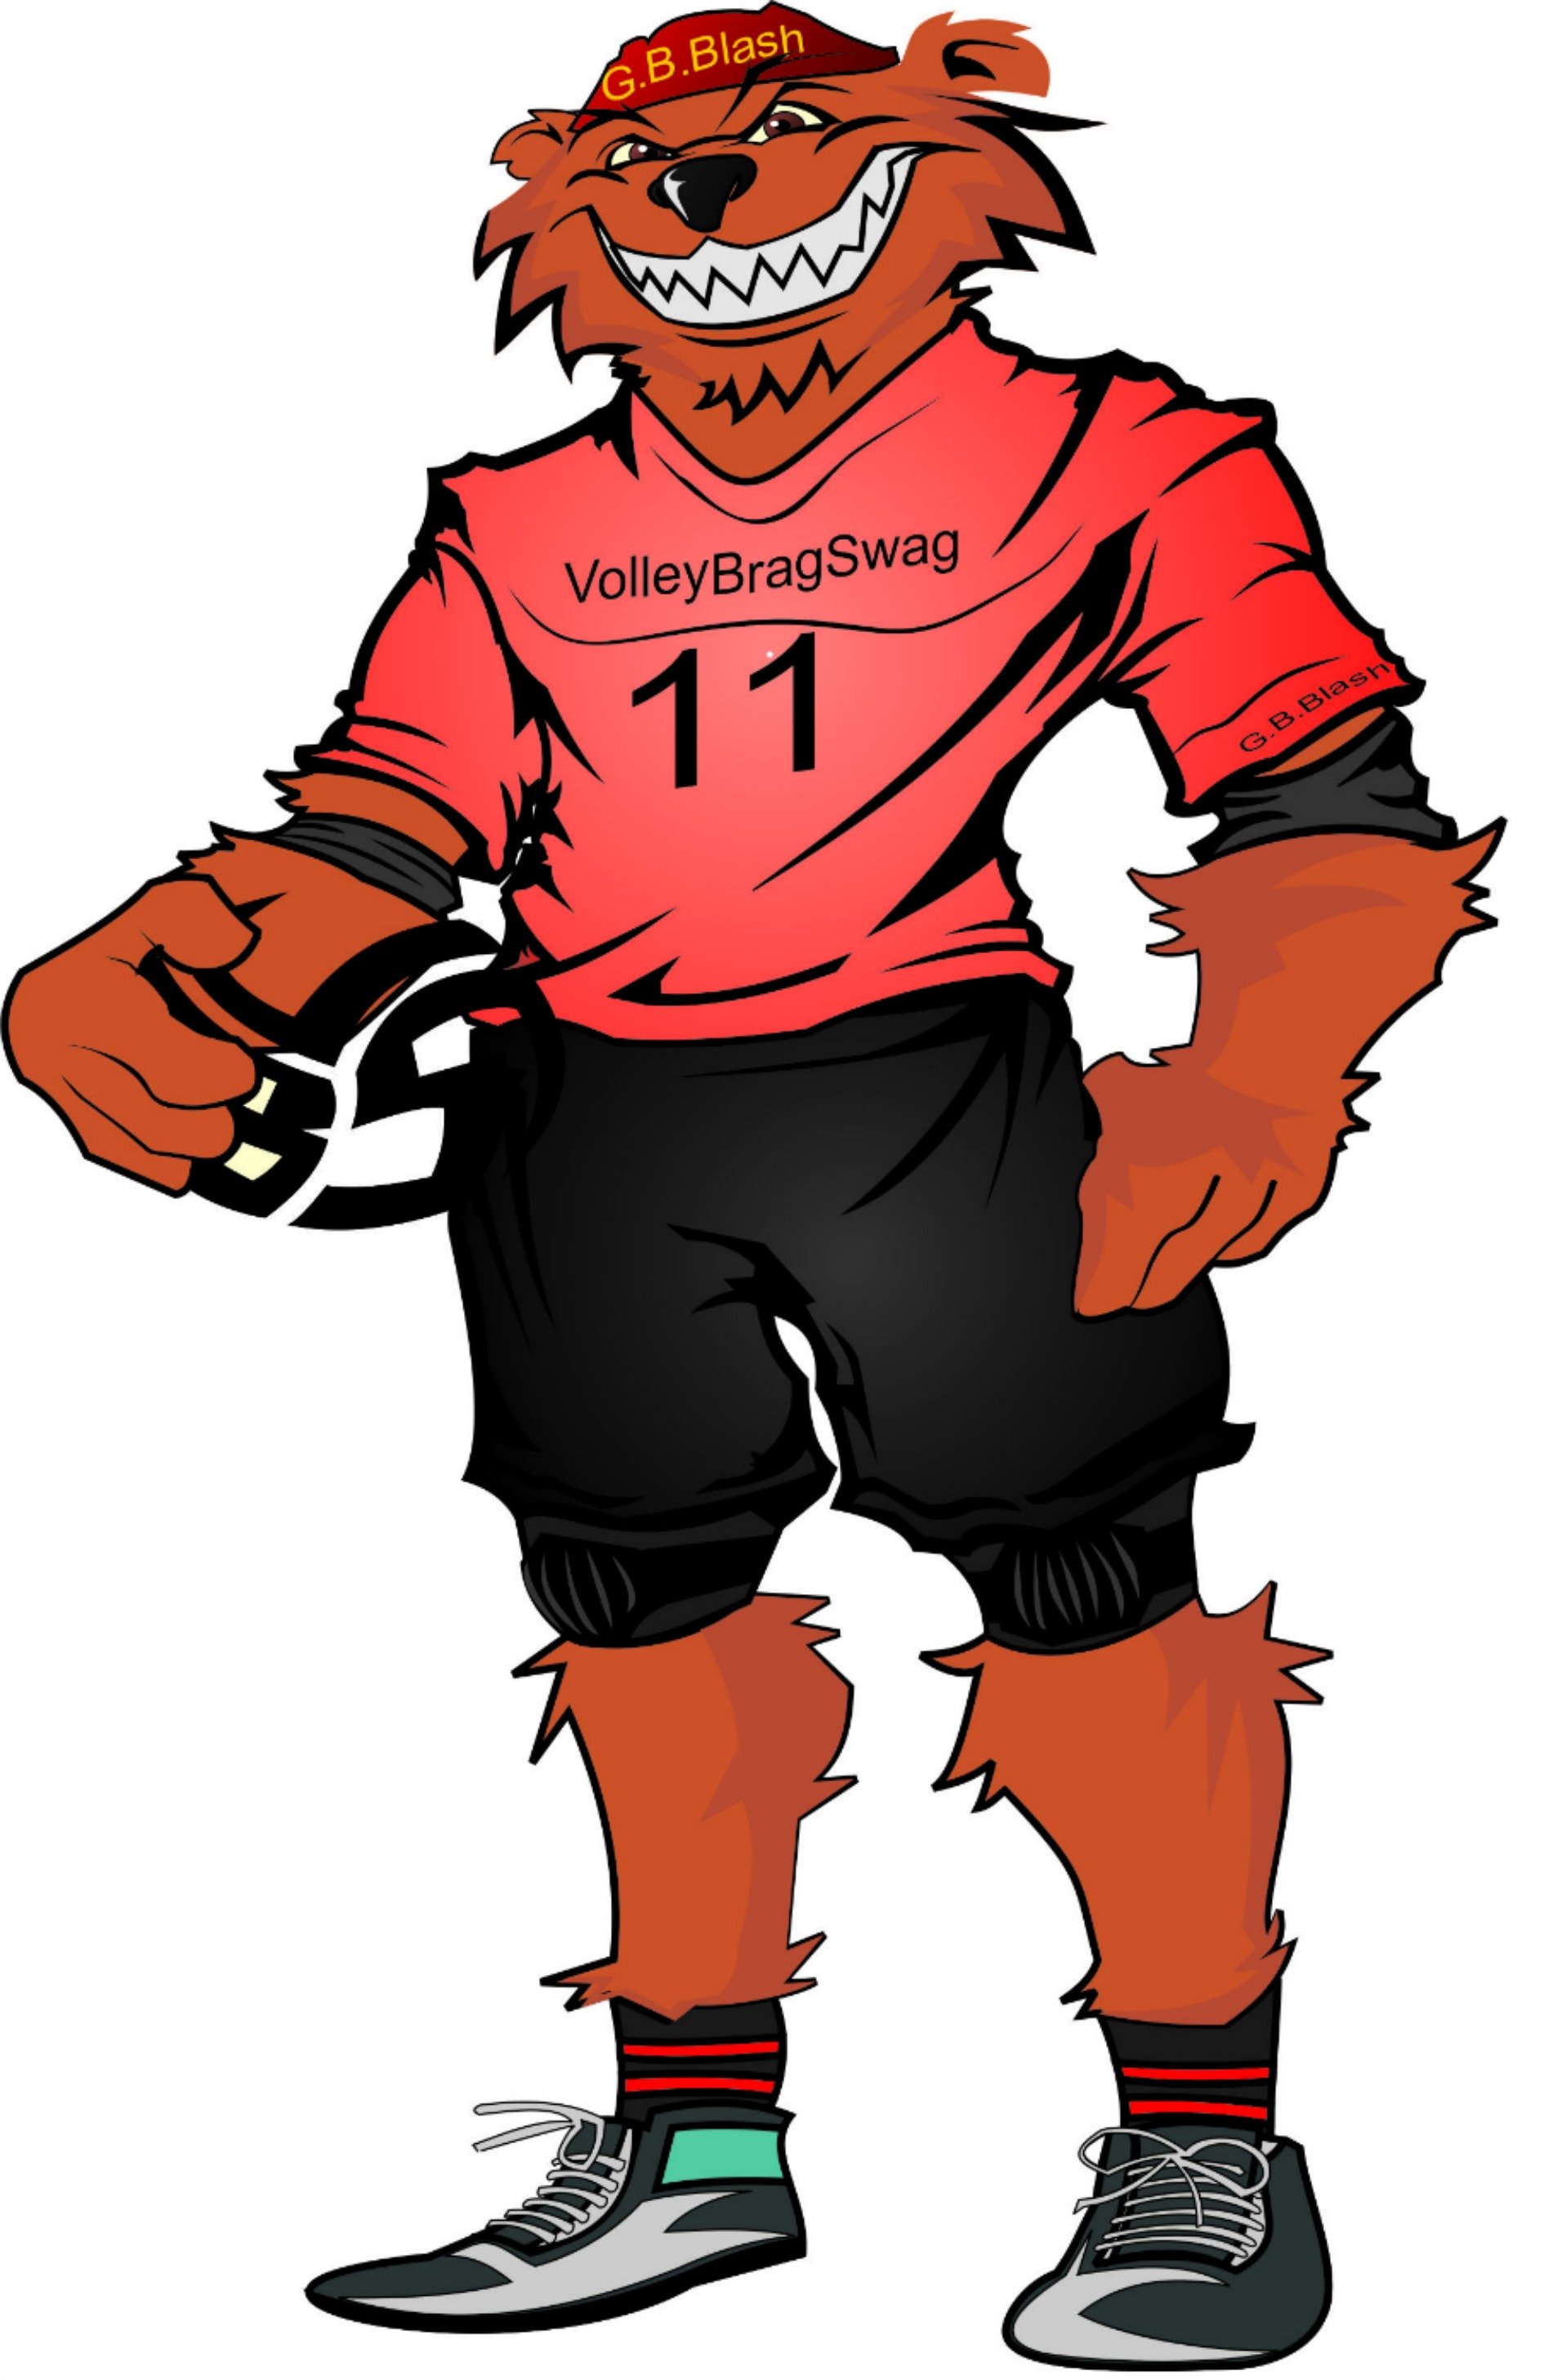
- Before leaving this page Say "Hi" to Mr G.B Blash, the Bear, wearing the #11 jersey below. "G.B" aka "Great Big" is the starting middle blocker for the All Beast VolleyBragSwag All Star team.
SUSCRIBE
To My Email Newsletter Below!
From Lady Vol to Legend: Coach April Produces Powerful Passionate Players...is that you?
What Are You Looking For?

Hi there!
Thanks for stopping by. Hope you learned something today that will help you reach your volleyball goals.
Be sure to subscribe to my email newsletter so you can learn more each week!
Stay strong! Stay motivated!
-Coach April

SUSCRIBE
to my email newsletter below!
Vegas Volleyball's Unsung Heroes: Celebrating Moms with Peace Love Volleyball Shirts
Ready to energize your volleyball mom journey?
Subscribe to my 'Producing Powerful Passionate Peaceful Players' email list above on ImproveYourVolley.com.
You'll receive energy-boosting tips, exclusive insights from me, Coach April Chapple on maintaining momentum in volleyball.
Let's power up the Vegas volleyball scene together!
Recent Articles
-
Frequently Asked Libero Volleyball Position Questions Answered
Apr 14, 25 08:10 PM
I answer the most frequently asked libero volleyball position questions many players and coaches ask that will help you learn about the player responsibilities. -
Coach April's Peace Love Volleyball Phrases For T-Shirts Honor Moms
Apr 13, 25 03:49 PM
Whether on the court or in everyday life, April Chapple's volleyball phrases for t-shirts are serving inspiration for players and moms, one message at a time. -
What Is A Setter In Volleyball? My Setting Guide With Answers To FAQs
Apr 13, 25 12:36 AM
Learn what a volleyball setter is from a champion coach. Get expert insights, training tips, and proven strategies for volleyball's most strategic position.
